Installing Windows 10 can be a relatively easy process if you have the right tools and follow the proper steps.
Table of Contents
TogglePreparing for Installation
Check System Requirements Before installing Windows 10
- Processor: 1 GHz or faster processor
- RAM: 2 GB or more.
- HDD/SSD: 20 GB or more
- Graphics: DirectX 9 or later
Backup your data
Backup Important Data Before starting the installation, make sure to backup all important data such as documents, photos, and videos. This will ensure that you don’t lose any data during the installation process.
Download windows 10 ISO file
Download the Windows 10 ISO file from the official Microsoft website
Create a bootable pendrive
To install Windows 10 on your laptop or PC, you will need a bootable pendrive with the operating system installation files.
The importance of installing the operating system properly
Installing the operating system properly is essential for the smooth and efficient functioning of a computer. The operating system is the software that manages the hardware resources of a computer and provides a platform for running applications. Therefore, if the operating system is not installed correctly, it can cause a range of issues, such as system crashes, error messages, and even data loss.
Download Windows 10 ISO file from the official Microsoft website
To install Windows 10 on your laptop using a bootable pendrive, you will need to download the Windows 10 ISO file from the official Microsoft website. Here’s how to do it:
Click here for download windows 10 from Microsoft website.
Navigate to the Windows 10 download page: Click on the “Downloads” tab and select “Windows 10” from the list of options.
Start the download: Click on the “Download” button to begin the download process. The ISO file is usually several gigabytes in size, so it may take some time depending on the speed of your internet connection.
By downloading the Windows 10 ISO file from the official Microsoft website, you can ensure that you have a legitimate and trustworthy copy of the operating system to install on your laptop.
Create a bootable pendrive using Rufus
Once you have downloaded the Windows 10 ISO file, the next step is to create a bootable pendrive. Rufus is a popular tool that can be used to create bootable pendrives. Here’s how to use Rufus to create a bootable pendrive:
Download Rufus: First, download Rufus from the official website at rufus.ie.
Connect the pendrive to your laptop: Insert the USB pendrive you want to use as the bootable media into your laptop.
Open Rufus: Double-click the Rufus executable file to open the program.
Select the USB drive: In the Rufus window, under the “Device” section, select the USB pendrive you want to use as the bootable media.
Select the Windows 10 ISO file: Under the “Boot selection” section, click on the “Select” button and navigate to the location where you saved the Windows 10 ISO file.
Choose the partition scheme: Under the “Partition scheme” section, select “MBR” if your laptop uses the legacy BIOS firmware or “GPT” if it uses the newer UEFI firmware.
Choose the file system: Under the “File system” section, select “NTFS” if you have a file larger than 4GB to copy, or “FAT32” otherwise.
Start the process: Click on the “Start” button to start the process. Rufus will format the USB pendrive and copy the Windows 10 ISO file to the drive.
Wait for the process to complete: Wait for Rufus to complete the process, which may take several minutes depending on the size of the ISO file and the speed of the pendrive.
Once the process is complete, you will have a bootable pendrive that you can use to install Windows 10 on your laptop or PC.
Change the boot order in BIOS to boot from the pendrive
After you have created a bootable pendrive with Rufus, the next step is to change the boot order in your laptop’s BIOS to boot from the pendrive. Here’s how to do it:
Insert the bootable pendrive into your laptop. Restart your laptop and immediately start pressing the key that will take you to the BIOS settings. This key varies depending on the manufacturer and model of your laptop, but it is usually F2, F10, or Del. Check your laptop’s documentation or do a quick internet search to find out the specific key for your laptop.
Once you are in the BIOS settings, navigate to the “Boot” tab or section.
In the “Boot” tab or section, find the option for “Boot Order” or “Boot Priority” and select it.
In the “Boot Order” or “Boot Priority” section, locate the option for “USB” or “Removable Device” and move it to the top of the list by using the arrow keys on your keyboard.
Save the changes and exit the BIOS settings. Usually, you can do this by pressing the F10 key, but again, this can vary depending on your laptop.
Your laptop will now restart, and if everything was done correctly, it will boot from the bootable pendrive.
By changing the boot order in the BIOS settings, you can ensure that your laptop boots from the bootable pendrive and begins the installation process for Windows 10.
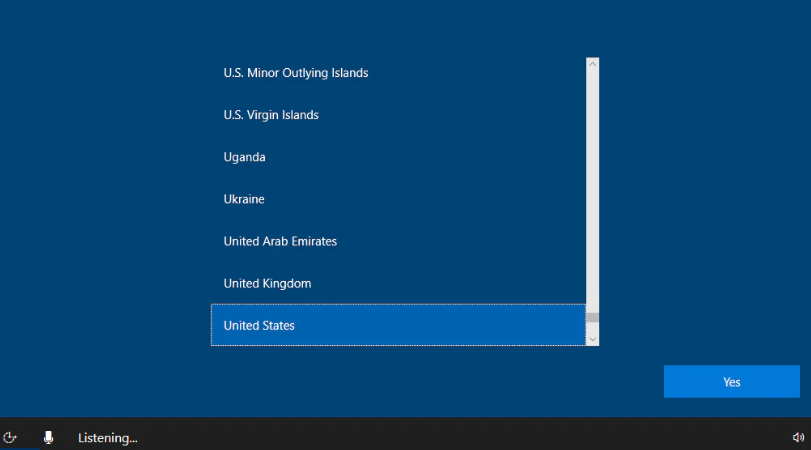
Once your laptop has successfully booted from the bootable pendrive, the Windows 10 installation wizard will start automatically. Follow the on-screen instructions to begin the installation process.
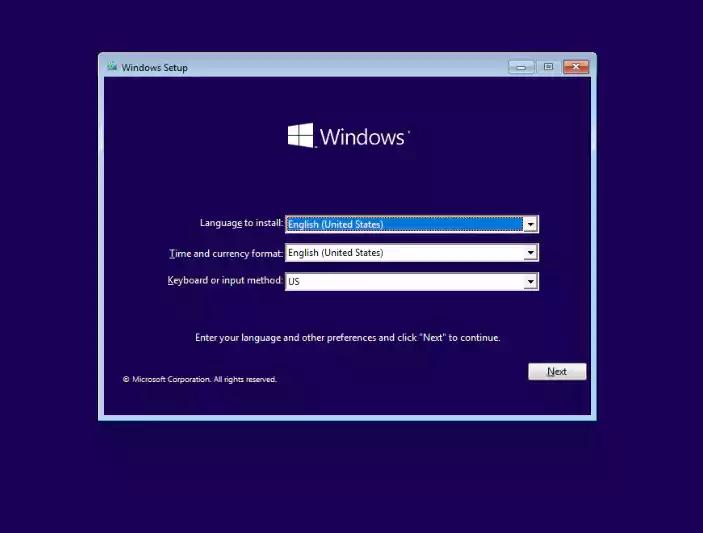
Once the installation wizard starts, select your language and click “Next.”
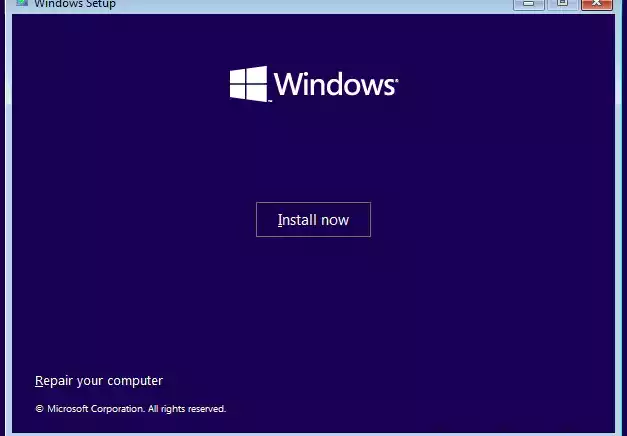
Click “Install Now” to begin the installation process.
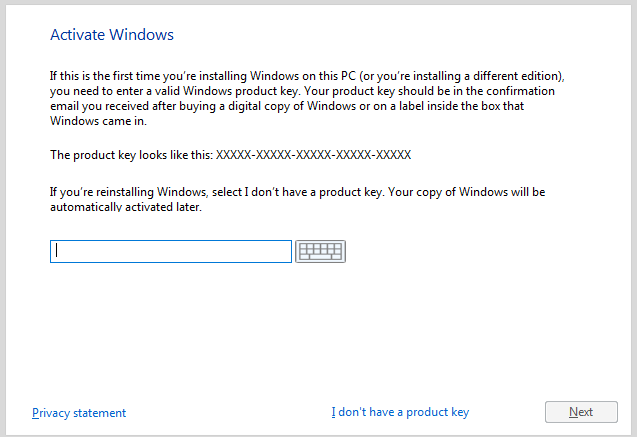
Enter your product key if prompted or click “I don’t have a product key” if you don’t have one.
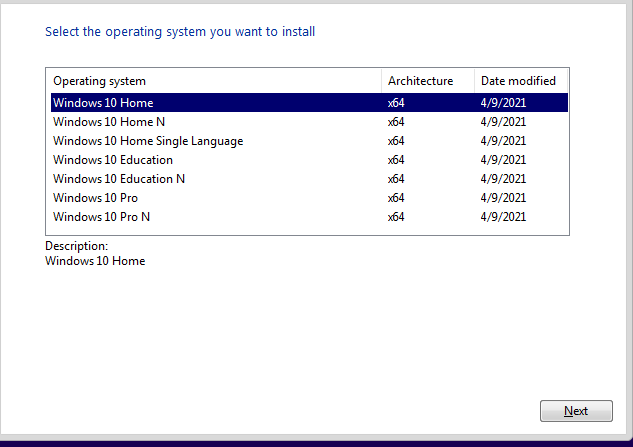
Select the operating system you want to install and click “Next”.
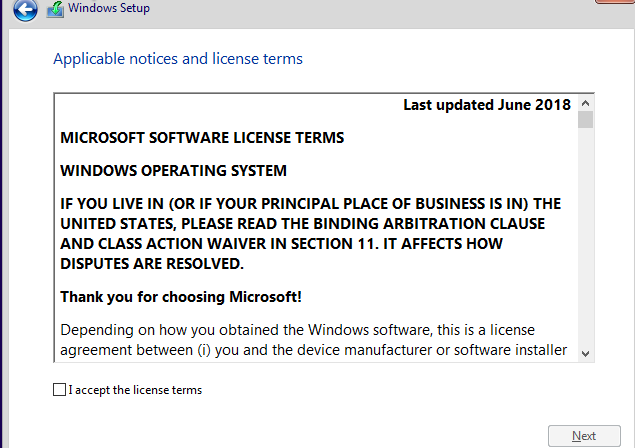
Accept the license terms and click “Next”.
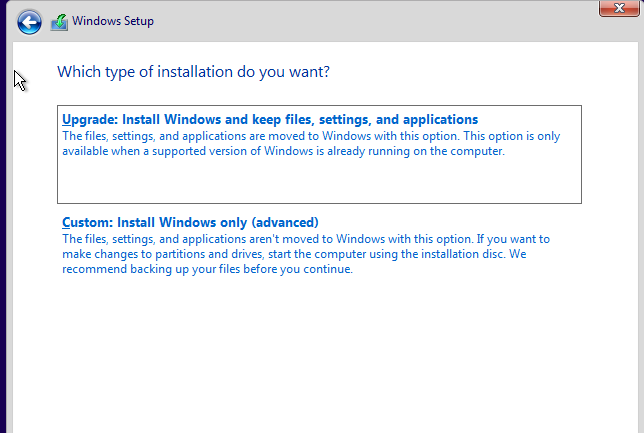
Choose the type of installation you want to perform: “Upgrade” or “Custom.”
If you choose “Upgrade,” Windows 10 will attempt to upgrade your existing operating system to Windows 10. If you choose “Custom,” you can select which partition to install Windows 10 on and perform a clean installation.

Create New Partition To create a new partition, select the unallocated space on the drive and click on “New”. Enter the size of the partition you want to create and click on “Apply”.
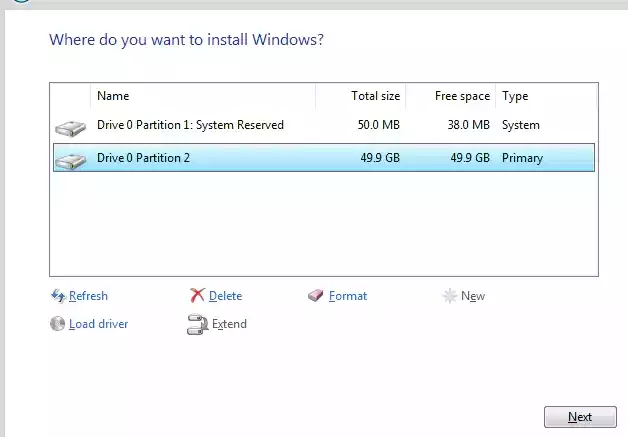
Select Partition to Install Windows Select the partition you just created and click on “Next” to continue with the installation.

Wait for Windows 10 to install on your laptop or PC. The installation process may take some time, so be patient.
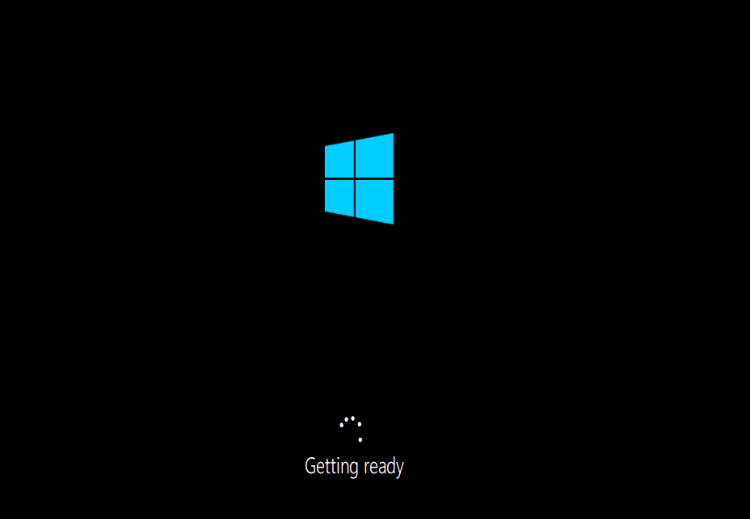
Wait getting ready
Complete the Installation Follow the prompts to complete the installation. You’ll be prompted to customize settings such as time zone, language, and privacy settings.
Once the installation is complete, you’ll be prompted to set up your Windows 10 account and personalize your settings. Follow the on-screen instructions to complete the setup process.
Post-Installation Steps
After successfully installing Windows 10 on your laptop or PC, there are a few post-installation steps you should take to ensure that your laptop is set up correctly and ready for use. Here are some essential post-installation steps:
Install drivers
After the installation is complete, it’s essential to install the necessary drivers for your laptop. These drivers include graphics, sound, network, and chipset drivers, among others. Installing the correct drivers will ensure that your laptop is functioning correctly.
Install necessary software
Install any software that you will need, such as a web browser, office suite, media player, or any other software that is essential for your daily use.
Update Windows
Once you’ve installed Windows 10, it’s crucial to update it to the latest version. These updates contain bug fixes, security patches, and new features that will improve your laptop’s performance and security.
Create a restore point
Creating a restore point will allow you to restore your laptop to a previous state in case anything goes wrong. To create a restore point, go to the Control Panel, System and Security, and then System. Click on System Protection, and then click on Create.
Configure Windows settings
Configure Windows settings to your preferences. This includes settings such as power options, display settings, desktop background, and other personalization options.
Install antivirus software
It’s essential to install antivirus software to protect your laptop from viruses, malware, and other security threats.
By following these post-installation steps, you can ensure that your laptop is set up correctly and ready for use.
Conclusion
In conclusion, installing Windows 10 on your laptop or PC through a bootable pendrive is a simple and straightforward process. By following the steps outlined in this guide, you can install Windows 10 on your laptop with ease and ensure that it is set up correctly for use.
It’s important to remember to back up your important files and documents before beginning the installation process, as well as to create a restore point and install antivirus software after the installation is complete.