Table of Contents
ToggleThe benefits of a customized Windows 10 interface
Customizing the Windows 10 interface can provide a range of benefits for users, including:
Improved productivity
A customized interface can make it easier and faster to access frequently used applications and files, manage open windows, and organize workspaces, resulting in improved workflow efficiency.
Personalized workspace
A customized interface can be tailored to individual needs, preferences, and work styles, creating a workspace that is intuitive, organized, and optimized for specific tasks and workflows.
Reduced distractions
By removing unnecessary clutter and organizing tools and applications in a way that supports productivity, a customized interface can help reduce distractions and improve focus.
Enhanced user experience
A customized interface can improve the user experience by providing a more intuitive, visually appealing, and streamlined workspace that is easier and more enjoyable to use.
Improved accessibility
Customizing the interface can improve accessibility for users with disabilities or specific needs, such as color blindness or limited dexterity, by providing options to adjust the interface to meet their requirements.
Overall, a customized Windows 10 interface can lead to a more efficient, personalized, and enjoyable user experience that supports productivity and optimal workflow efficiency.
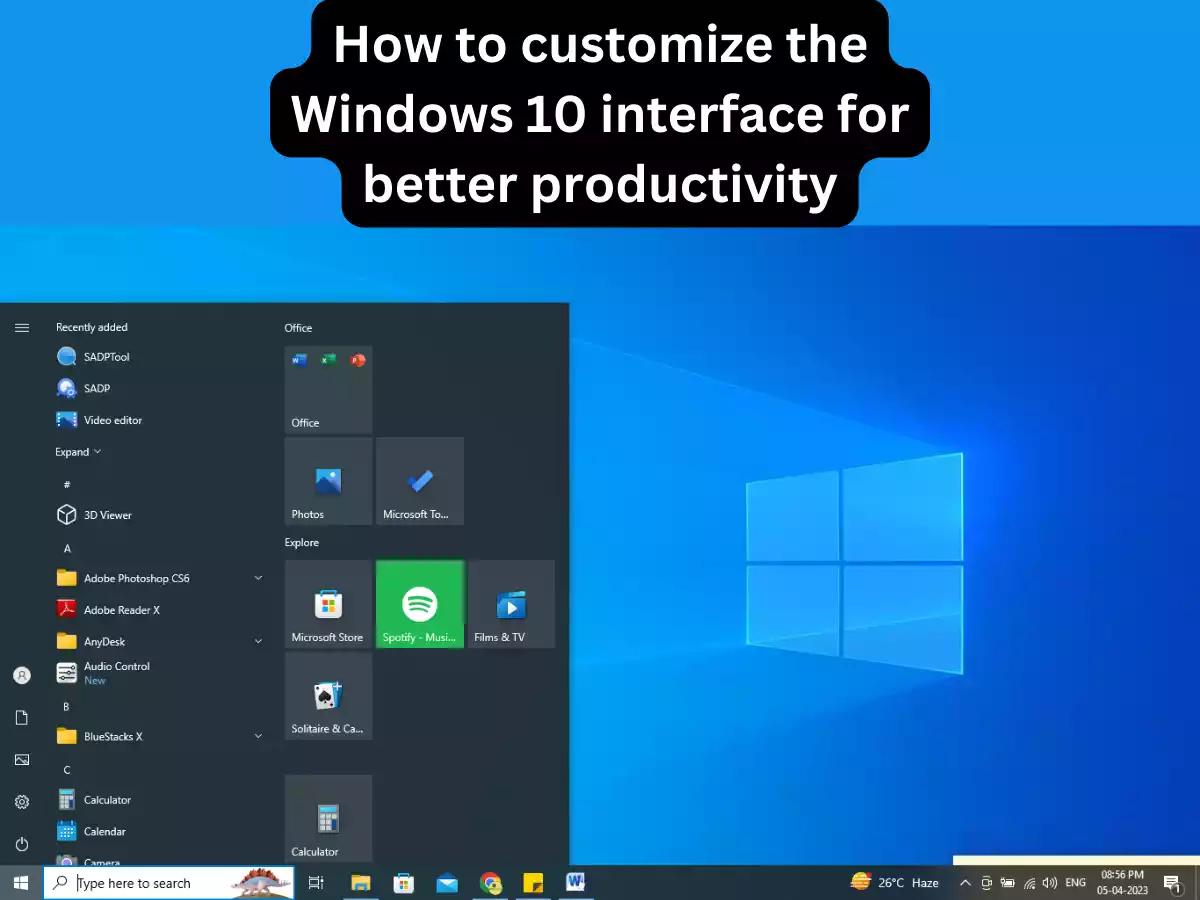
The default Windows 10 Start Menu
The default Windows 10 Start Menu provides quick access to frequently used applications and files, as well as options for searching and accessing settings and other tools. However, it may not be optimized for individual workflows or preferences, which is why customizing the Start Menu can be useful for improving productivity and efficiency.
Steps to customize the Start Menu to include frequently used applications and files
Here are the steps to customize the Windows 10 Start Menu to include frequently used applications and files:
- Open the Start Menu by clicking on the Windows icon in the lower-left corner of the screen.
- Locate the application or file you want to add to the Start Menu.
- Right click on the application or file and select “Pin to Start” from the context menu. Alternatively, you can drag and drop the application or file onto the Start Menu to pin it.
- Repeat this process for all the applications and files you want to add to the Start Menu.
- To remove an application or file from the Start Menu, right click on it and select “Unpin from Start.”
By customizing the Start Menu with frequently used applications and files, you can quickly access the tools you need to complete your work more efficiently.
Tips for organizing Start Menu tiles for easy access
Here are some tips for organizing Start Menu tiles to make them more accessible:
Group tiles by category
You can group similar tiles together by creating folders within the Start Menu. To create a folder, drag one tile over another and release the mouse button. You can then name the folder and drag additional tiles into it. This can make it easier to locate specific applications or files.
Resize tiles
You can resize tiles within the Start Menu by right-clicking on a tile and selecting “Resize.” This can make frequently used tiles larger and easier to access.
Remove unnecessary tiles
If you have tiles in the Start Menu that you do not use frequently, you can remove them to reduce clutter and make it easier to find the tiles you need. To remove a tile, right-click on it and select “Unpin from Start.”
Pin frequently used files
You can pin frequently used files to the Start Menu, making them easy to access without having to navigate to the folder where they are stored. To pin a file, right-click on it and select “Pin to Start.”
Customize live tiles
If you have live tiles enabled, you can customize the size and content of each tile to display the information that is most relevant to you. To customize a live tile, right-click on it and select “More” > “Resize” or “Turn live tile off.”
By organizing and customizing Start Menu tiles, you can create a more efficient and personalized workspace that is optimized for your specific needs and workflows.
Task View feature in Windows 10
The Task View feature in Windows 10 is a virtual desktop management tool that allows users to create and switch between multiple desktops. It provides a way to organize open applications and files across multiple workspaces, making it easier to manage and switch between different tasks.
To access the Task View, you can either click the Task View button on the taskbar or use the keyboard shortcut Win + Tab. The Task View displays thumbnails of all open applications and virtual desktops. To create a new desktop, click the “New Desktop” button in the top-left corner of the screen.
Once you have multiple desktops created, you can switch between them by clicking on their thumbnails in the Task View. You can also drag and drop applications from one desktop to another to move them between workspaces. This can be particularly useful for separating work-related tasks from personal tasks or for organizing different projects or applications into separate workspaces.
The Task View also provides additional features such as Timeline, which allows users to see and resume recently opened files and applications across all virtual desktops, and the ability to snap multiple applications side-by-side on a single desktop.
Overall, the Task View feature in Windows 10 provides a convenient and efficient way to manage multiple desktops and applications, helping users to stay organized and focused on their work.
The Virtual Desktops feature in Windows 10
The Virtual Desktops feature in Windows 10 allows you to create and switch between multiple desktop environments within a single session. Each virtual desktop can have its own set of open windows and applications, allowing you to separate your work into different contexts.
For example, you could have one virtual desktop for your email and communication tools, another for your web browsing and research, and a third for your productivity applications like Microsoft Office.
Switching between virtual desktops is easy – you can either use the Task View button on the Taskbar or press the Windows key + Tab. From there, you can see all your virtual desktops and switch between them by clicking on the one you want to use.
Virtual Desktops can be a powerful productivity tool for people who multitask frequently or work on multiple projects simultaneously. By keeping your work organized and separate, you can stay focused and avoid distractions.
Steps to enable and use Virtual Desktops to organize open windows
Here are the steps to enable and use Virtual Desktops to organize open windows:
Enable Virtual Desktops: Right-click on the Taskbar and select “Taskbar settings.” Scroll down to the “Multiple desktops” section and make sure the “Show task view button” option is turned on.
Create a new Virtual Desktop: Click on the Task View button on the Taskbar and select “New desktop” in the upper left corner of the screen. Alternatively, you can use the keyboard shortcut Windows key + Ctrl + D.
Switch between Virtual Desktops: Click on the Task View button or press Windows key + Tab to open the Task View. From there, you can see all your virtual desktops and switch between them by clicking on the one you want to use. Alternatively, you can use the keyboard shortcut Windows key + Ctrl + Left or Right arrow to switch between desktops.
Move windows between Virtual Desktops: Open the Task View and drag the window you want to move to the desktop you want to move it to. Alternatively, right-click on the window in the Taskbar and select “Move to” and then choose the desired desktop.
Close a Virtual Desktop: Open the Task View and hover over the desktop you want to close. Click on the “X” button that appears in the upper right corner of the desktop thumbnail.
Using Virtual Desktops can help you stay organized and focused by allowing you to separate your work into different contexts. By following these steps, you can enable and use Virtual Desktops in Windows 10 to better manage your open windows and applications.
The default Windows 10 Taskbar
The Windows 10 Taskbar is a horizontal bar that sits at the bottom of the screen by default. It provides quick access to frequently used applications, and shows active applications, as well as system notifications and status indicators.
The default Taskbar is divided into several sections:
Start Menu button: This button opens the Start Menu, which provides access to all applications and settings on the computer.
Pinned applications: These are shortcuts to frequently used applications that you have pinned to the Taskbar for easy access.
Task View button: This button opens the Task View, which allows you to switch between virtual desktops and see all open applications.
Search bar: This is a search box that allows you to search for files, applications, and settings on your computer.
Active applications: This section shows icons for all currently open applications, allowing you to quickly switch between them or close them.
System notifications and status indicators: This section shows system notifications, such as new emails or updates, as well as status indicators, such as Wi-Fi signal strength or battery level.
You can customize the Taskbar by adding or removing icons, changing the size of icons, and moving the Taskbar to different locations on the screen. Additionally, you can customize which system icons are shown in the notification area, and choose which applications are pinned to the Taskbar for easy access.
Tips for organizing Taskbar icons for easy access
Here are some tips for organizing Taskbar icons for easy access:
Keep frequently used icons visible
Pin the applications and files you use most often to the Taskbar and arrange them in a way that makes sense to you. For example, you might group all your productivity applications on the left side of the Taskbar and all your entertainment applications on the right.
Use jump lists
Many applications have jump lists that allow you to quickly access frequently used files or tasks within the application. Right-click on an application icon in the Taskbar to see its jump list.
Group similar applications
If you have multiple instances of the same application open, the Taskbar will group them together. You can click on the group to see thumbnails of all open instances and choose the one you want to switch to.
By organizing Taskbar icons in a way that works for you, you can save time and work more efficiently.
Conclusion
In conclusion, customizing the Windows 10 interface can greatly improve productivity by making it easier to access frequently used applications and files, manage open windows, and organize workspaces. The Start Menu, Task View, and Taskbar are all key elements of the interface that can be customized to better suit your needs. Using Virtual Desktops can also help you stay organized by allowing you to separate your work into different contexts. By following the steps outlined in this guide and using the tips provided, you can customize the Windows 10 interface to work more efficiently and effectively.